Custom Clear Stickers


Simply enter the size of your sticker, choose your shape, pick the quantity you'd like and upload your artwork. It's that easy...
Artwork check list
Preparing Your Artwork for Sticker Printing
Want your stickers to come out looking proper? Here’s what we need from you when you send over your artwork:
1. Size it right
Set your file to the exact finished size of your sticker (e.g. 7.5cm x 7.5cm).
2. Resolution
Go with 300 DPI. Anything lower will look soft or pixelated once printed.
3. Colour mode
Work in CMYK. RGB is for screens, not print, so colours won’t match properly otherwise.
4. Bleed
Add at least 3mm bleed on all sides. This stops any unwanted white edges after trimming.
5. Safe zone
Keep text, logos and anything important at least 3mm inside the cut line, so nothing gets chopped off.
6. Fonts
Convert all text to outlines/curves. That way we don’t need your font files.
7. File formats
We accept:
Vector files (AI, PDF, EPS) – best for logos and graphics
High-res raster files (PSD, TIFF, JPEG, PNG with transparency) – good for photos or detailed designs
8. Cut line (for custom shapes)
If you want a custom die-cut shape, add a separate cut line layer. Mark it in 100% magenta or use our templates.
9. Double check before sending
Make sure:
- Spelling is correct
- Colours are in CMYK
- Images still look sharp when zoomed in
10. Sending files
Send us a PDF, AI, or EPS with fonts outlined and layers intact. For simpler shapes, a high-res PNG works too.
Good to know:
Each order includes up to 5 different artworks as standard. If you need more than that, you’ll need to place an extra order.
White layer setup
Want your colours to come out solid and bold? Add a white base under those parts of the design.
Want the material to show through for a transparent or shiny effect? Leave the white layer off and the ink will print straight onto the sticker material.
Think of the white layer as a base coat. Add it where you need opacity, skip it where you want the effect to shine through.
1. Decide on the finish
- Solid and opaque = add white.
- Transparent/effect showing = no white.
2. Create a new layer
- Call it “White Layer”.
- Put it just below your artwork layer.
3. Mark the areas
- Fill the shapes where you want white with a solid colour.
- Set it as a spot colour named “White.”
4. Check it over
- With white = bold, opaque colour.
- Without white = see-through or material showing.
5. Save and send
- Export with the white layer intact (AI, PDF, or EPS recommended).
Turnaround and delivery
Standard turnaround:
3 to 5 working days from when I receive your final artwork.
Working to a deadline?
Email me at Jay@tackyandupsetting.com before placing your order. That way I can confirm if it’s doable and avoid any mix-ups.
Need a specific delivery estimate?
Just get in touch, I’ll always do my best to work to your timeline.
What Are Clear Stickers?
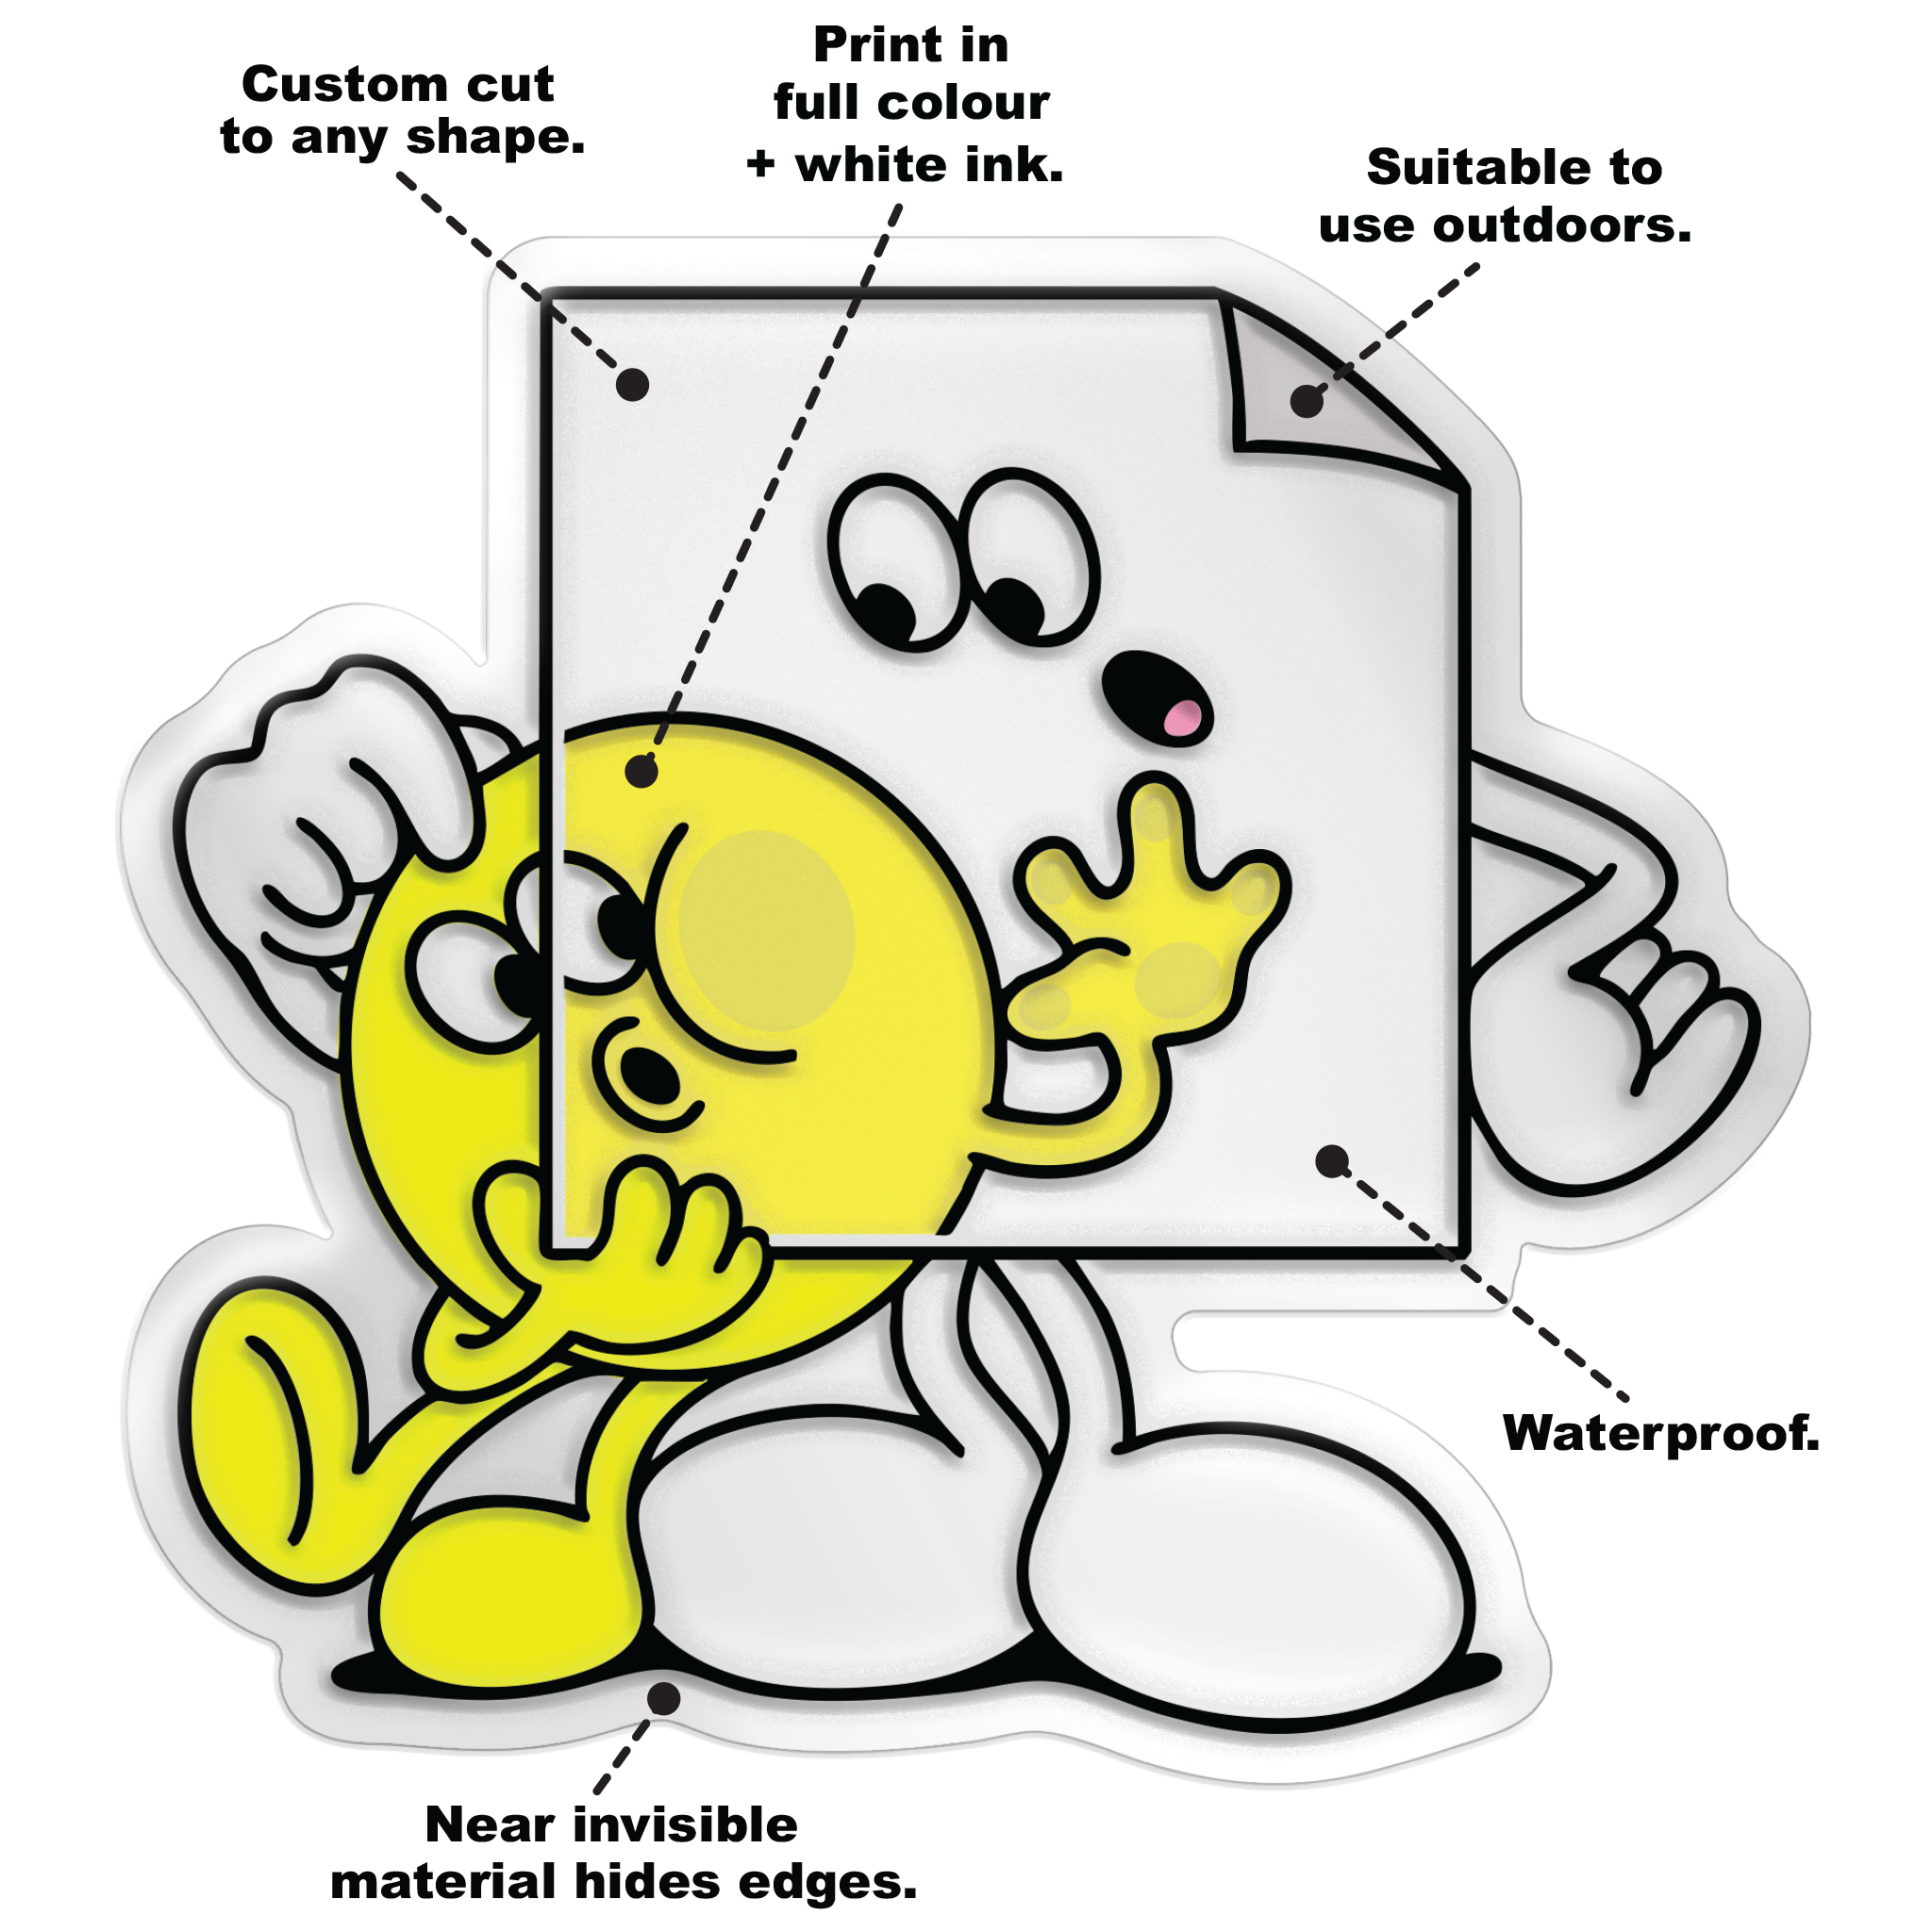
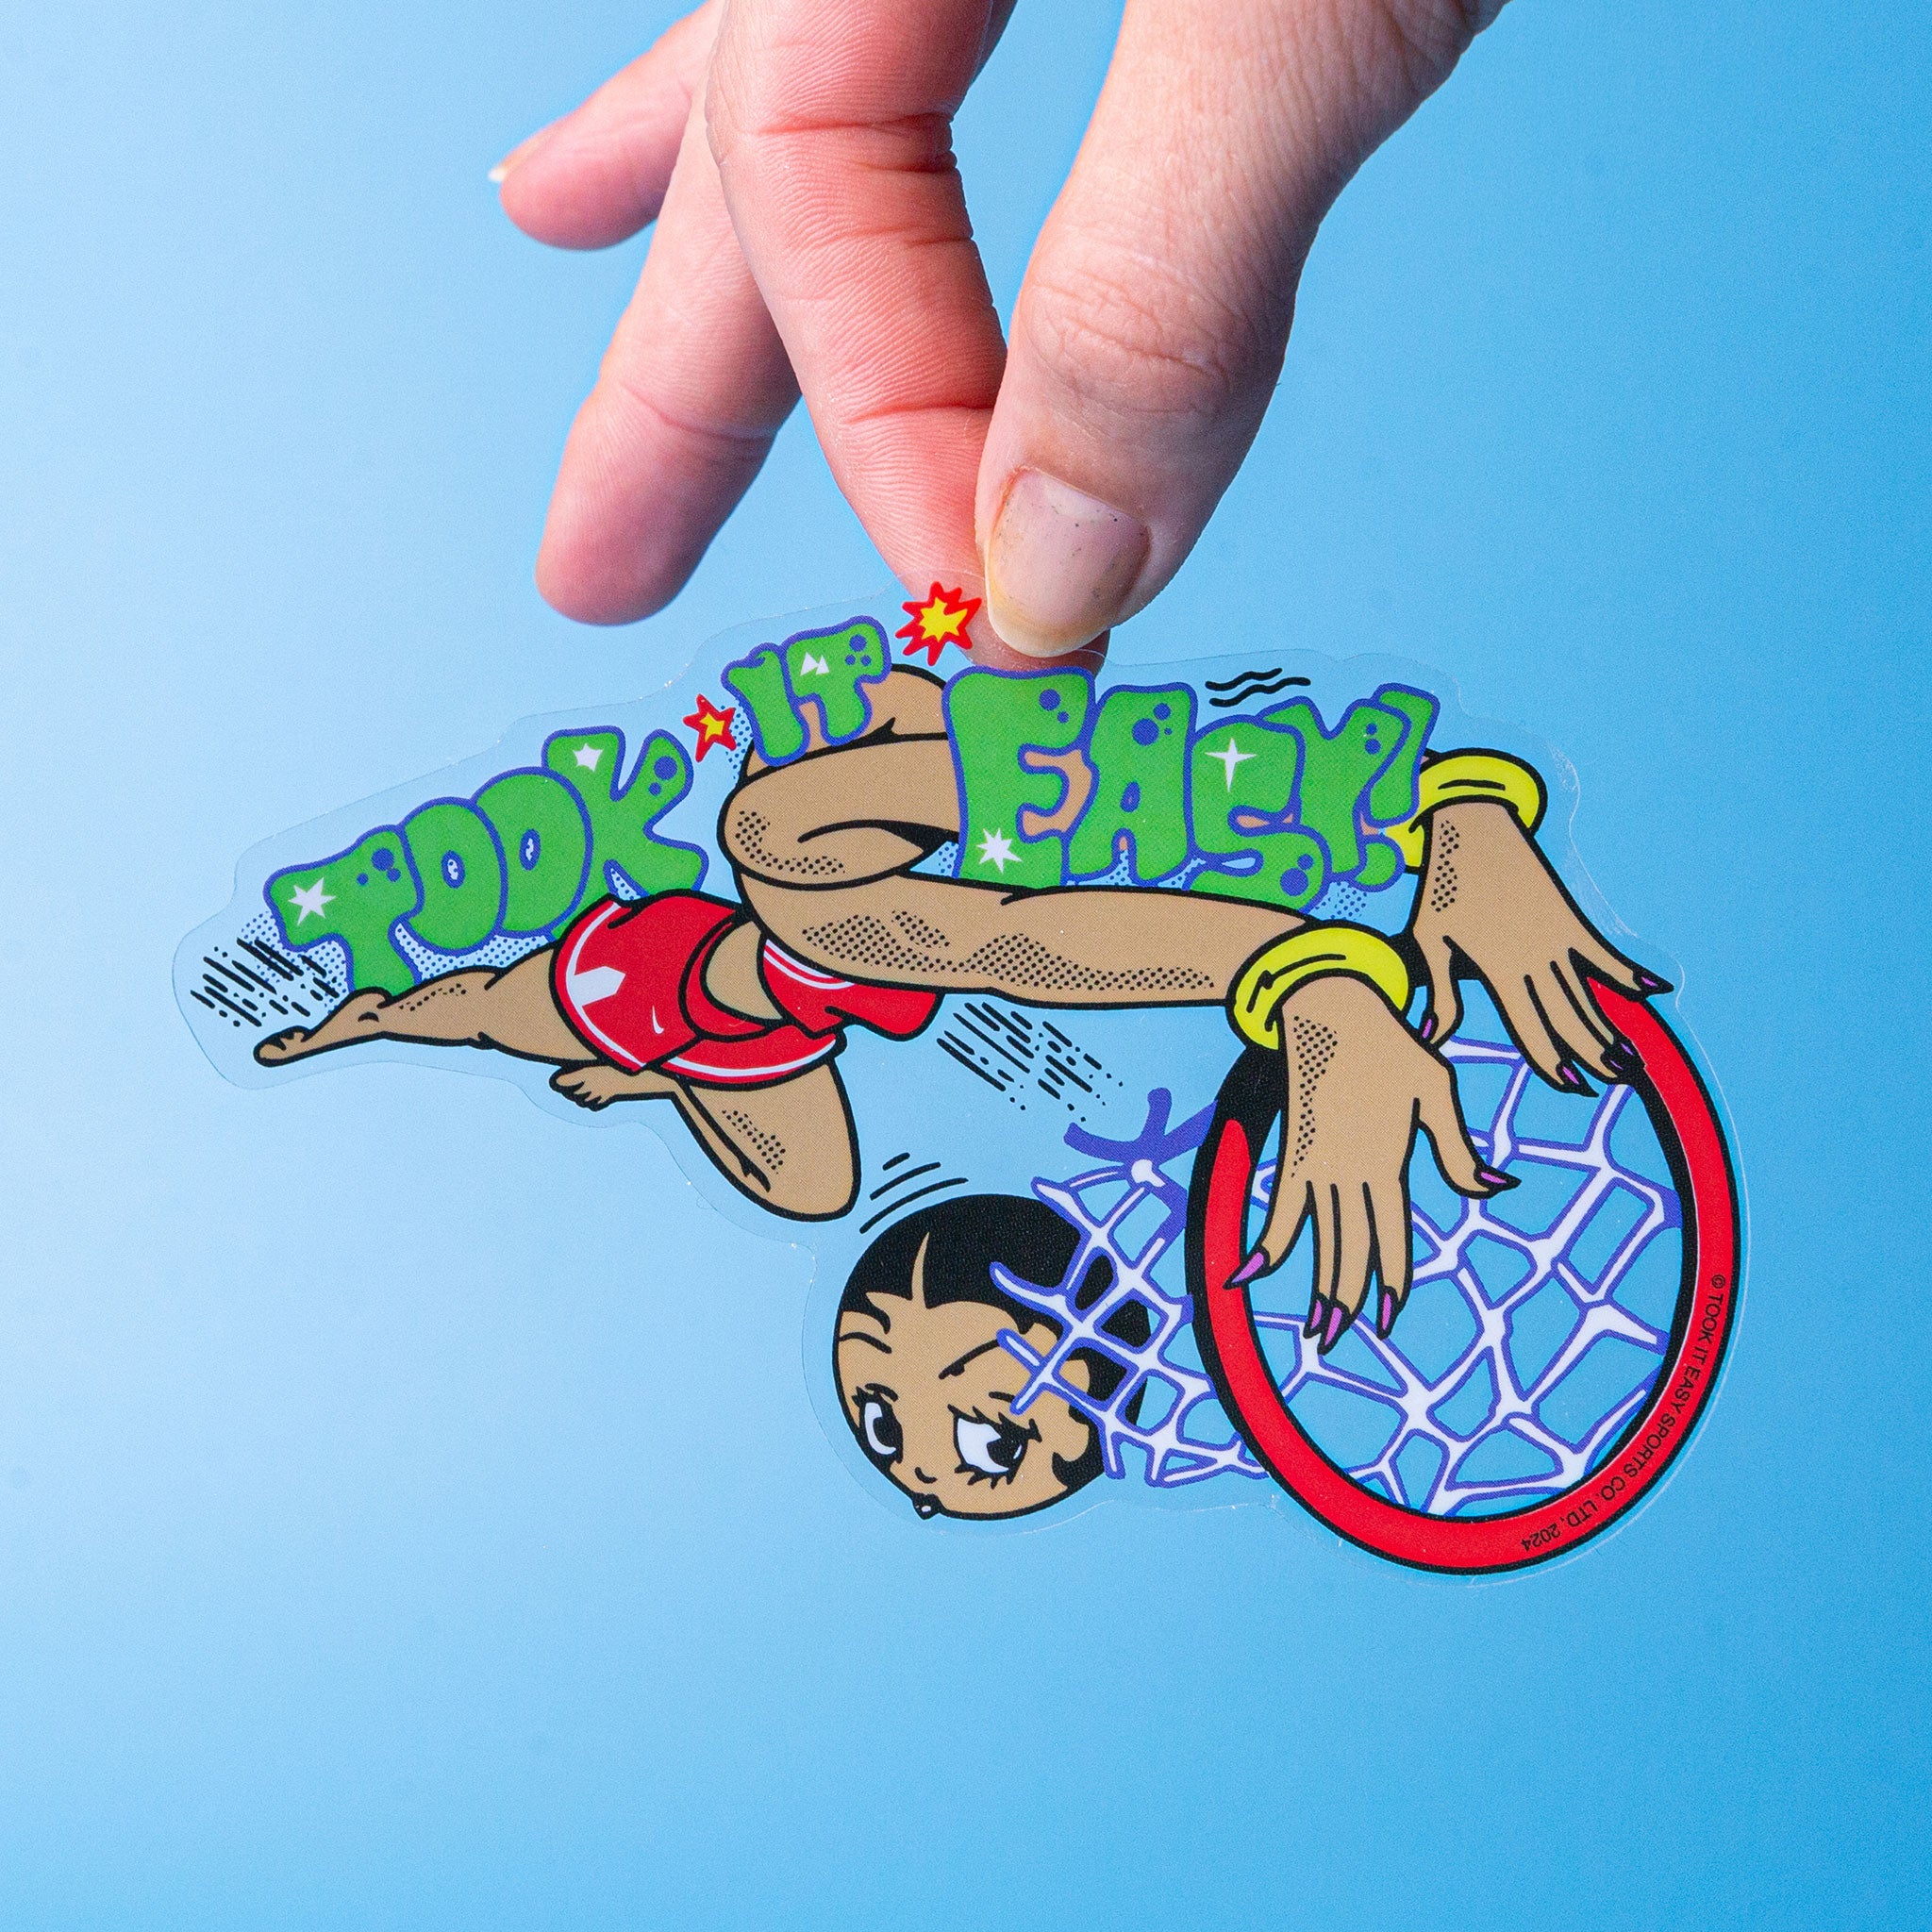
Clear stickers are printed on transparent vinyl, allowing the surface underneath to show through wherever there's no artwork. This makes them a great choice for logos, illustrations and lettering when you don't want a solid white background.
The surface you apply them to can affect how your design looks. Artwork that stands out on a white bottle might look quite different on dark glass. That's why we add white ink behind coloured artwork as standard, helping colours stay visible. You can also choose white-only printing or create intentionally transparent areas, depending on the effect you're after.
Are clear stickers completely transparent?
The vinyl itself is transparent, so any areas without printing will allow the surface underneath to show through. This gives your artwork a clean finish without a solid background.
The printed areas can be opaque or more transparent depending on how the white ink is used. Although the material is clear, you may still notice the sticker's edges in certain lighting conditions.
What is a white ink layer, and do I need one on my clear stickers?
A white ink layer is printed underneath your coloured artwork to help the colours appear more solid and prevent the background from showing through.
We automatically add white ink behind your artwork as standard, so you don't need to prepare a separate white layer unless you want something specific.
If you'd prefer certain colours to remain transparent, let us know and indicate which areas should have white ink. You can find more information in our Artwork File Guide.
Will clear stickers show up on dark or coloured surfaces?
Yes, although the colour of the surface underneath can affect how your design looks.
When coloured inks are printed without white underneath, darker backgrounds can make them appear less visible. We automatically add white ink behind your artwork to help prevent this.
If you're planning to apply your stickers to a particularly dark or unusual surface, we'd recommend testing our Clear Sticker Samples first.
Can you print white text or logos on clear stickers?
Yes, we can print white text, logos and illustrations directly onto clear vinyl.
Because the material itself is transparent, white areas need to be printed using white ink rather than simply left blank.
White-only designs work particularly well on glass, windows and darker surfaces, giving you solid white artwork with a transparent background around it.
What surfaces do clear stickers work best on?
Clear stickers work best on smooth, clean, non-porous surfaces such as glass, plastic, metal and glossy packaging.
They're a popular choice for bottles, jars, windows and product packaging, where the transparent background allows the surface underneath to remain visible.
For the best adhesion, make sure the surface is clean and completely dry before applying your sticker. Rough or heavily textured surfaces may affect how well it sticks.
Can clear stickers go on the inside of a window and be read from outside?
Not with this product. We don't offer reverse printing for our clear stickers, so they're designed to be viewed from the printed side.
If you want your design to be visible from outside a window, you'd normally apply the sticker to the exterior of the glass, with the artwork facing outwards.
Sticking a standard clear sticker on the inside of a window won't give you the same result as a reverse-printed window sticker.
Are clear stickers waterproof and suitable for outdoor use?
Yes, our clear vinyl stickers are waterproof and suitable for both indoor and outdoor use.
They're finished with a protective gloss laminate, helping to protect the printed artwork from everyday handling and exposure to the elements.
They're suitable for windows, bottles, packaging and other smooth surfaces, although their long-term condition will depend on where they're applied and the conditions they're exposed to.
What's the difference between clear stickers and white vinyl stickers?
The main difference is the background. Clear stickers use transparent vinyl, allowing the surface underneath to show through wherever there's no printing.
White vinyl stickers have a solid white background, which provides consistent coverage across the entire sticker.
We can print white ink underneath artwork on clear vinyl to help colours stand out, but the unprinted areas remain transparent. If you want a completely solid background, white vinyl is usually the better choice.